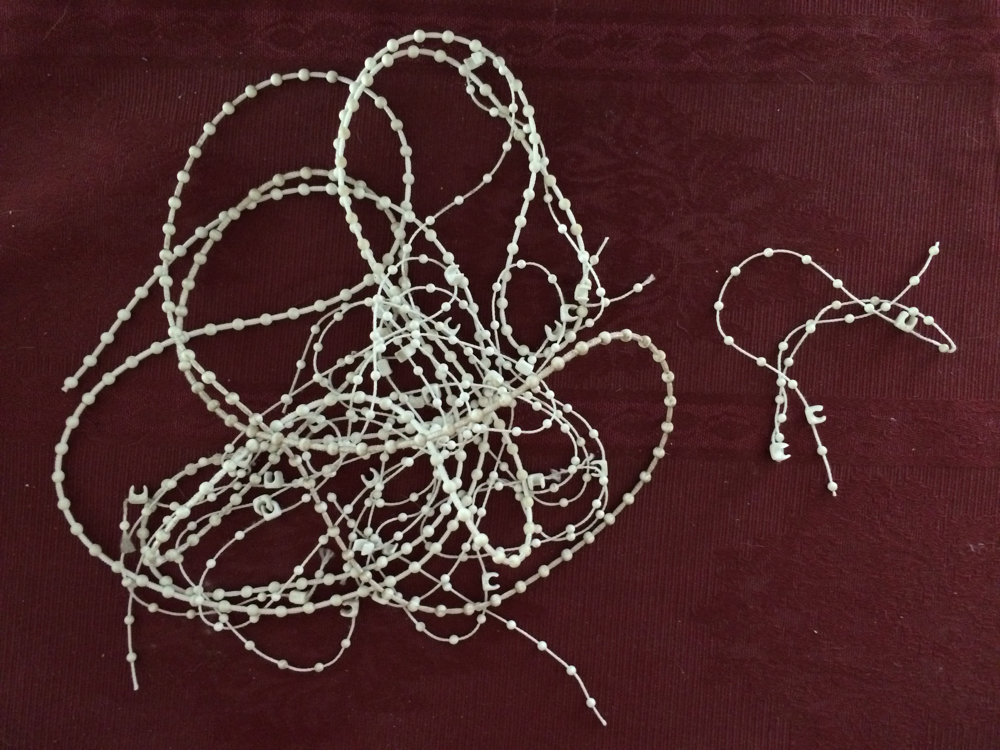
I bought a new vacuum cleaner recently - the Miele Complete C3 Cat&Dog. A great unit, with a charcoal filter to save me from puppy smells when vacuuming. It also comes with a “Large Turbobrush”, model STB 205-3 which is quite handy for picking up fur. Today I thoughtlessly sucked up the control cord and half the runs-along-the-bottom cord for my vertical blinds (the dogs trashed them months ago).
 Inhaled the cordage
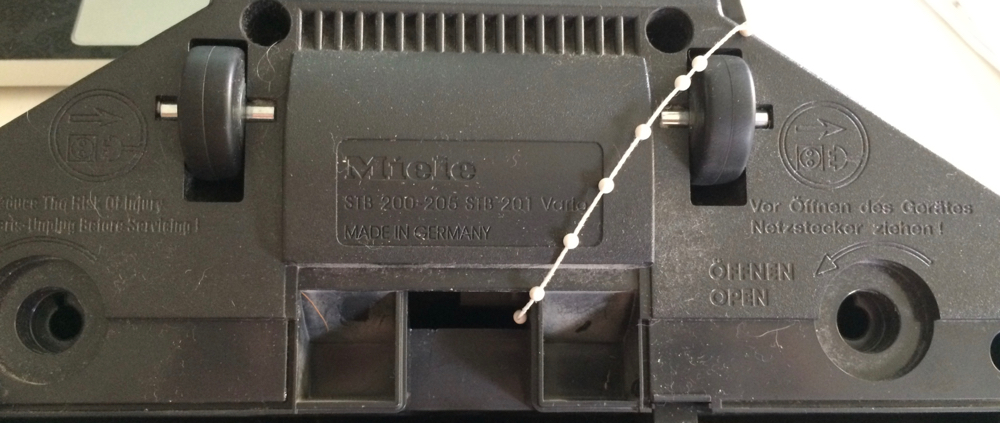
I got 90% of the cord out of the brush wheel, but some of it had been sucked into the part that actually provides the power to the brush. I tried jiggling things back and forth, but nothing would budge. Time to disassemble!
You’ll need:
- Phillips/Flat bladed screwdriver for the first step
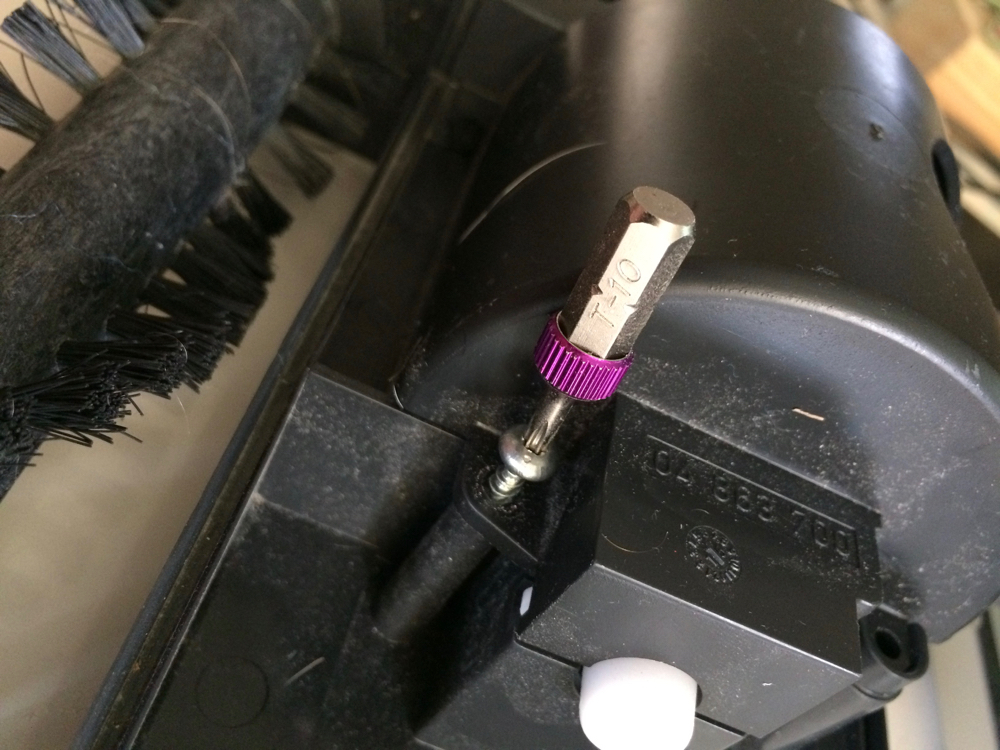
- A T10 Torx screwdriver for the body screws, at least 5cm long.
First off, remove the bumper/blade assembly - the part you’re supposed to regularly remove. The two orange screws should undo easily, then you pull the top towards you to remove.
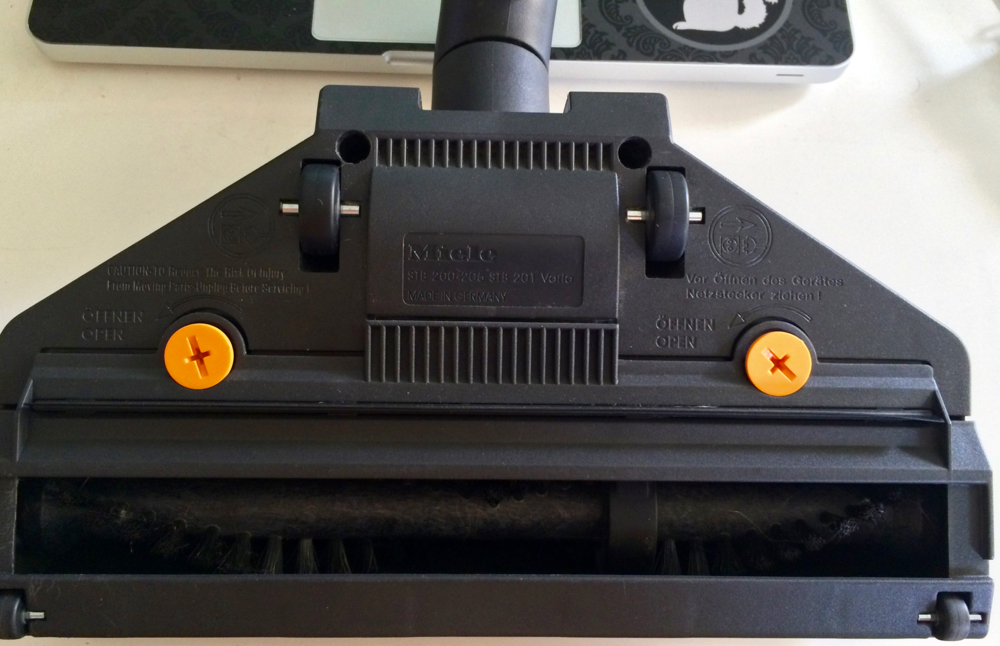 Bumper/blade assembly
Next, it’s time to pull the body of the unit apart. There’s four screws, two up near the wheels, two that were covered by the part you just removed. This is where the T10 torx driver comes in handy. Remove the screws and gently wiggle the casing until the unit comes apart into top/bottom.
 Rotor housing cover
Next you’ll have to remove the screws holding the rotor housing together. Be careful when doing this, as you’ll want to see how it looks when everything’s in the right place.
 Cover off
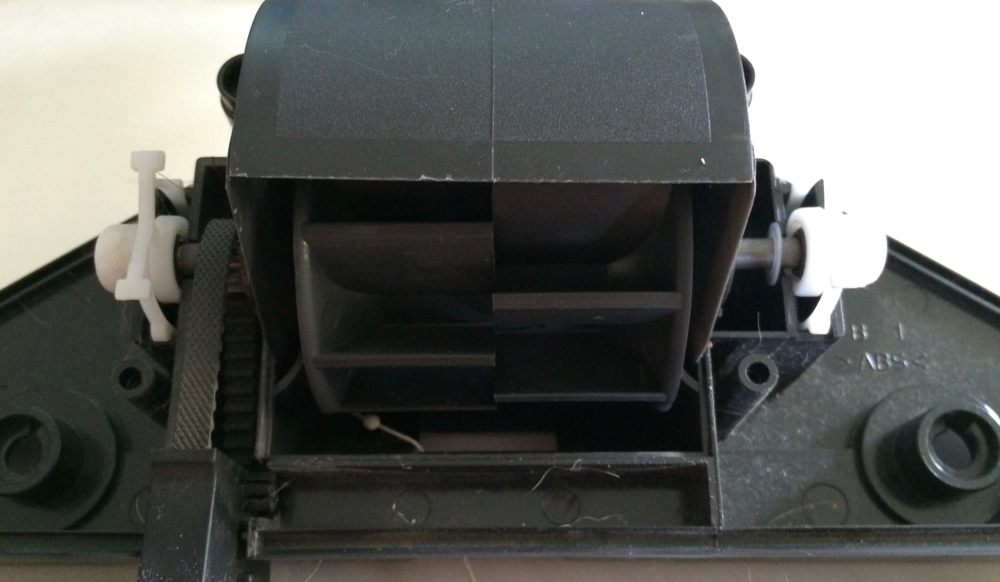
With the cover off, we want to pull the rotor out. Be careful not to twist the belt, you should be able to lift the unit up and wiggle the white bearing/suspension part through the belt to get it out.
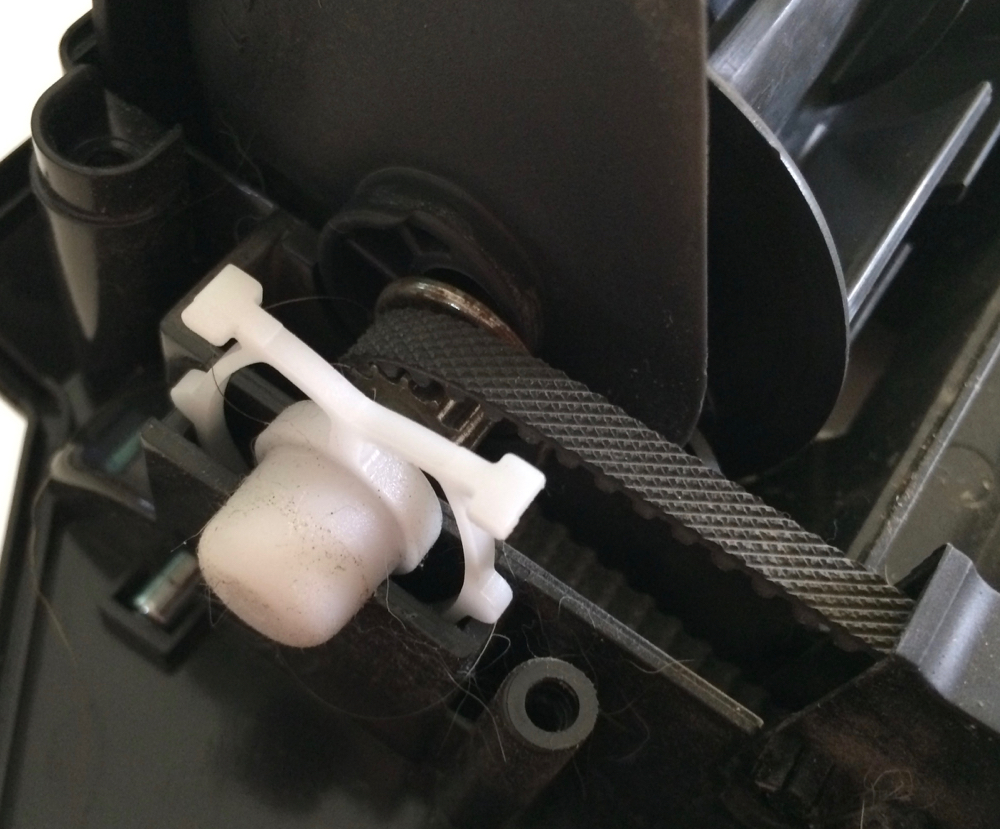 Rotor in place
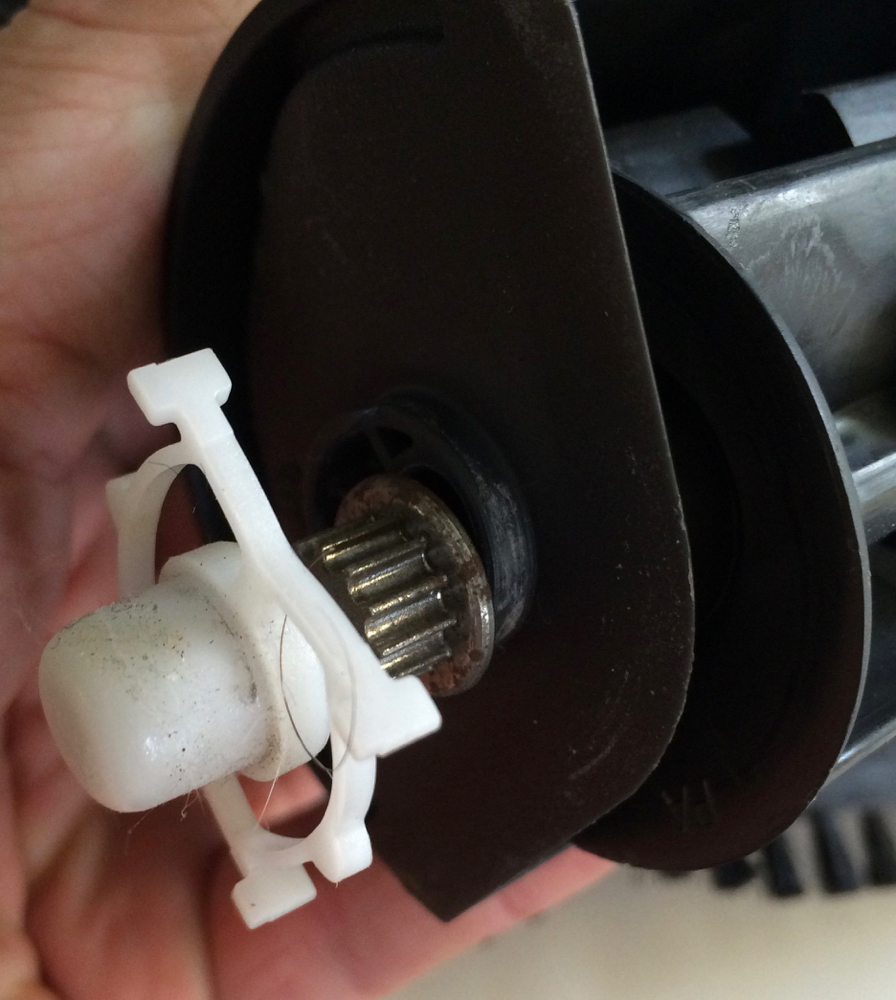 Rotor and bearing
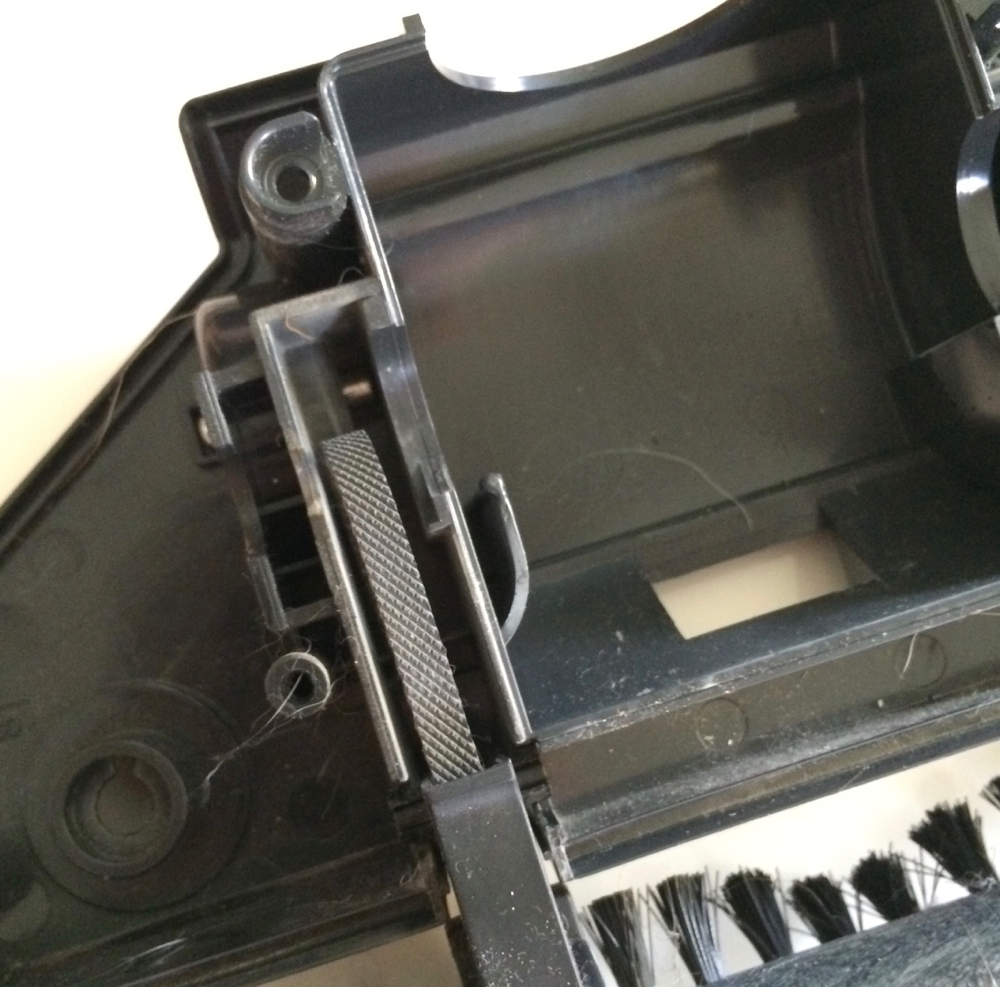 Belt and brush
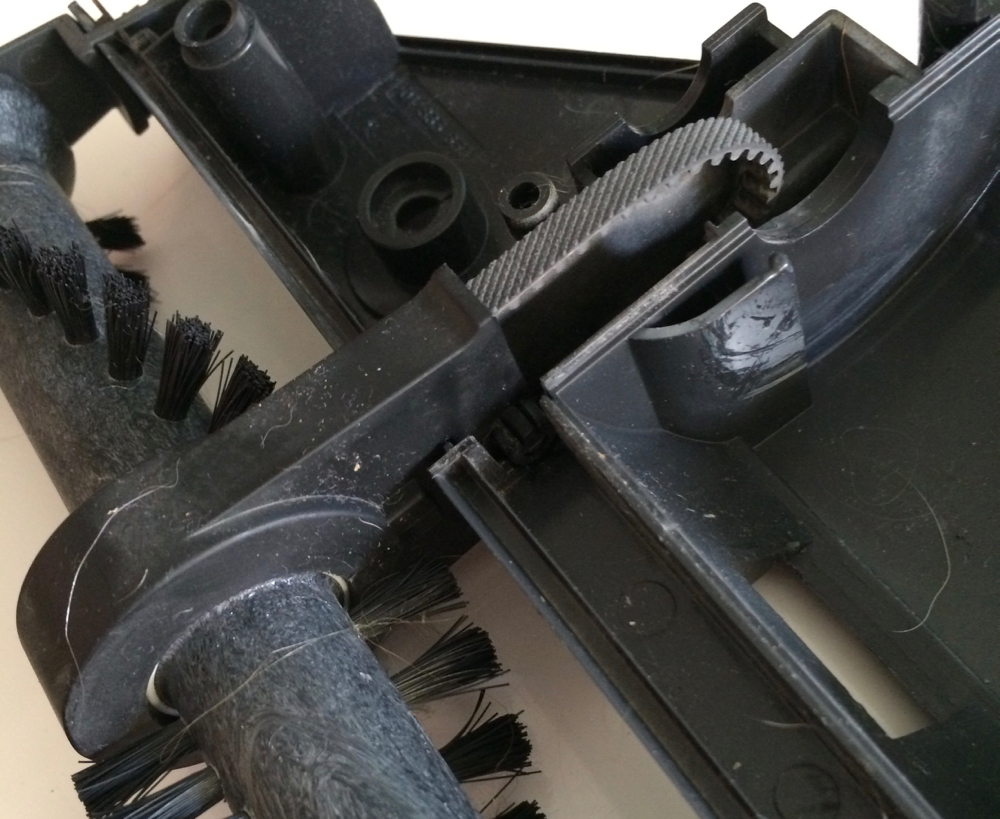 Belt and brush
Do what you need to while you’re there, I removed the caught-up pieces of cordage and cleaned out extraneous dog hair. This isn’t a normal maintenance task, as the unit’s held together with screws into plastic - if it was designed to happen regularly they’d have used metal bushings and the like.
Reassembly’s the reverse of disassembly, be very careful that the white bearings are located correctly and that the parts are held in place by the various alignment pieces (you’ll see where they fit together). When reinstalling screws, ensure you aren’t cutting a new path, but follow the existing threads in the plastic.
Wiggle the rotor/brush head each time you make a change, just to make sure everything moves freely - you don’t want to get too far and have to pull it apart again! 🙂