After much muttering and wondering what I was doing wrong, I figured it out.
There’s some info on the Virago Tech Forums (registration probably required) also reproduced here because ugh. Here’s how to remove the carburetor on a Virago XV1100.
- Remove the seat
- Remove the right pod and its air cleaner hose
- Remove the left pod and the vacuum line to the (AIS) at the 4 way junction and let it hang down.
- Raise the fuel tank and loosen the upper intake hose clamp for the front carb
- Loosen the lower intake hose clamp and remove the intake hose.
- Remove the throttle cables
- Loosen the upper and lower intake hose clamps and remove the intake hose.
- Remove the fuel lines from the carbs
- Remove the choke cable
- Remove the vacuum lines from the carb holders.
- Loosen the clamp on the rear carb holder and remove the bolt
- Spread open the carb holder clamp for access to the lower carb holder bolt; loosen but do not remove the lower bolt.
- Loosen the carb holder clamp bolt on the front carb and remove the bolt
- Spread open the carb holder clamp for access to the lower carb holder bolt, loosen but do not remove the lower bolt.
- Now, reach over the bike backbone and grab the carbs and twist clockwise and remove the carbs from the carb holders. If the carbs have not been recently removed, this will take some effort.
- From the right side of the bike, slide the carbs back toward the rear wheel. This will give you access to the upper carb holder bolt from the left side of the bike.
- Loosen the upper carb holder bolt on the front cylinder just enough to slide the carb holder out.
- From the right side of the bike, remove the lower carb holder bolt and slide the carb holder out and set it aside. There is enough room to remove it. Don’t remove the bolts - the carb holder should slide off as it’s got a notch in that end.
- From the left side of the bike, slide the carb forward enough to gain access to the top bolt on the rear carb holder from the right side of the bike.
- Loosen it just enough to allow the carb holder to slide out.
- From the left side of the bike, remove the lower carb holder bolt and slide the carb holder out.
- From the left side of the bike, gently maneuver the carbs past the two top carb holder bolts and they will slide right out. You may need to screw one of the top carb holder bolts in a couple of turns to allow the carbs to pass.
This guy’s got the right idea with grinding down his 10mm wrench - I’ll definitely be doing it for the reinstall process. If you try to use the open end of the spanner you’ll likely round down the bolt heads - ask me how I know? 🙁 Luckily a load of G96 loosened up the bolt enough to save my bacon. I’m also going to try that socket wrench idea, that’s fantastic.
The carbs in their current state are pretty nasty - there’s rust on most of the steel moving parts, and corrosion on the alloy ones. I’m glad I went with the “full” rebuild kit as there’s parts I know I’d have to buy straight up that aren’t in the “base” kit.
Next step: electrical testing while waiting for the carb rebuild kits.
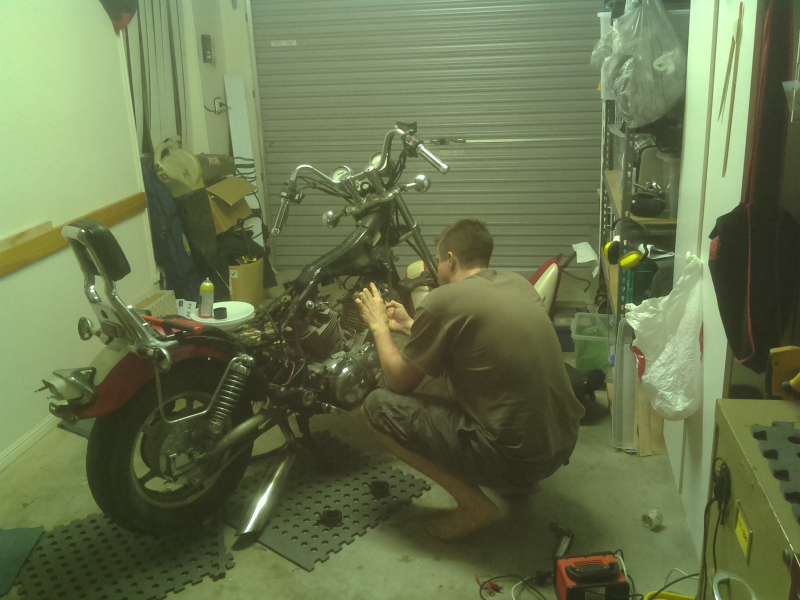 The carbs are out!